Dashboard
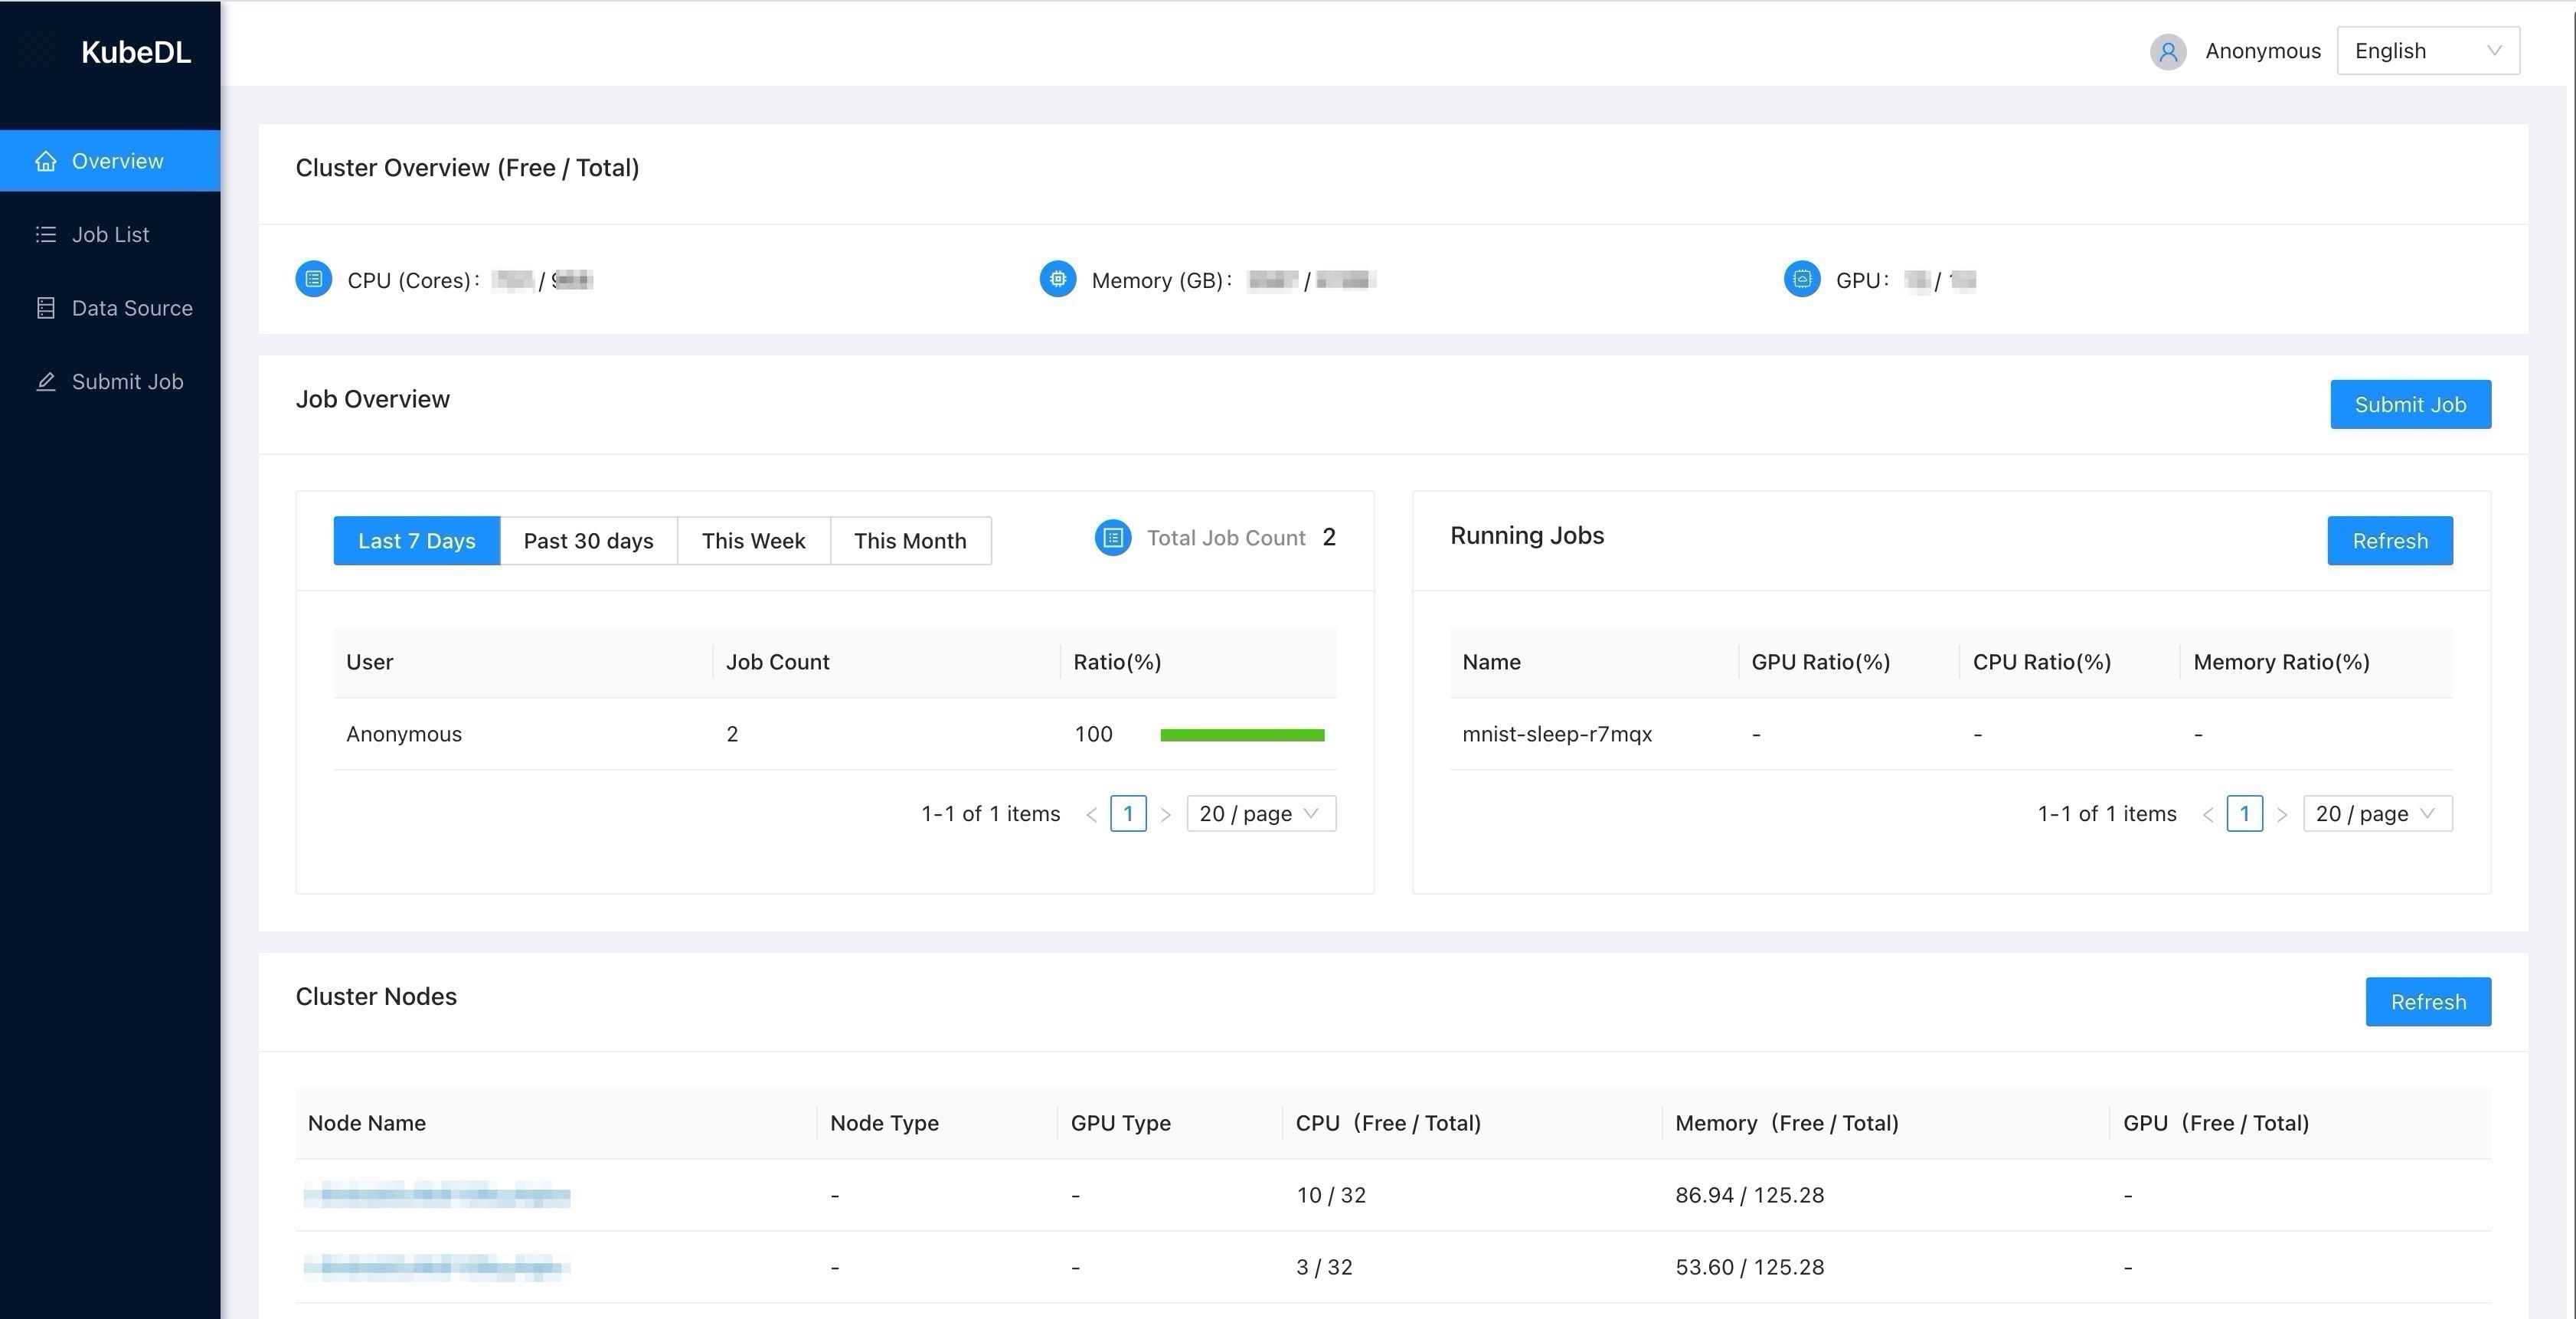
KubeDL dashboard consists of a frontend and a backend. Below documentation describes how to build and run them.
Prerequisites
- NodeJS > 10
- Go > 1.12
Deployment Guide
Deploy the KubeDL Dashboard
kubectl apply -f console/dashboard.yaml
This will create a kubedl-dashboard Deployment, its Service, and a ConfigMap in the kubedl-system namespace.
The dashboard will list nodes. Hence, its service account requires the list node permission.
Access the Dashboard
You can access the dashboard by the ClusterIP or LoadBalancer IP or Ingress depending on your own usage.
For example, check the dashboard endpoint by inspecting the service object and you can find the access endpoint.
kubectl describe service kubedl-dashboard-service -n kubedl-system
Access the Dashboard over SSH
If the dashboard is deployed on a remote machine that requires SSH to access. On your local machine, run:
ssh -L 9090:localhost:9090 user@30.30.30.30
This will send any browser connection to port 9090 on your local machine(i.e. your laptop), over ssh to the remote machine (30.30.30.30). Once there, it will continue to localhost (the remote machine), port 9090.
Then, on the remote machine, run
kubectl port-forward deployment/kubedl-dashboard -n kubedl-system 9090:9090
This will forward any connections to localhost:9090 (the remote machine you ssh to) to the kubedl-dashboard deployment in Kuberenetes at port 9090
In summary, the connection flow is like below:
Browser -> Local Machine (e.g. your laptop), port 9090 -> Remote Machine, port 9090 -> kubectl forward -> The running dashboard pod, port 9090
Development Guide
Build the KubeDL Dashboard Image
docker build . -t kubedl/dashboard:0.1.0 -f Dockerfile.dashboard
Build Backend Server Binary
$ cd console/
$ go build -o backend-server ./backend/cmd/backend-server/main.go
Run Backend Server Locally
- Create a
kubedl-systemnamespace in your Kubernetes if not existing, this is required to create system-level ConfigMaps. - Make sure the backend-server uses a
KUBECONFIGthat has permission to create ConfigMap. - Run backend server with no authentication (default mode).
export KUBECONFIG=<path/to/your/kubeconfig> && ./backend-server
Optional Settings
Default Training Container Images
You can set the default container images for submitting the training jobs through dashboard by creating a
ConfigMapnamedkubedl-dashboard-configinkubedl-systemnamespace as below:apiVersion: v1
kind: ConfigMap
metadata:
namespace: kubedl-system
name: kubedl-dashboard-config #
data:
images: '{
"tf-cpu-images":[
"here set your default container image",
...
],
"tf-gpu-images":[
...
],
"pytorch-gpu-images":[
...
]
}'Authentication
By default, the backend-server has no authentication. Optionally, you can enable authentication using ConfigMap. That is, use
usernameandpassworddefined in ConfigMap and to login.The backend-server needs to start as
./backend-server --authentication-mode=config. For example, create a ConfigMap like below:apiVersion: v1
kind: ConfigMap
metadata:
namespace: kubedl-system
name: kubedl-dashboard-config
data:
images:
...
users: '[
{
"username":"admin",
"password":"123456"
}
]'When login to the frontend, use
adminfor username and123456for password to login.
Run Frontend
Go to the frontend root dir.
cd frontend/Install dependencies
yarn installStart Frontend Server
yarn start
Optional: Set backend server address
Use below config to set the backend-server address.
Path: console/frontend/config/config.js
  proxy: [
    {
      target: "http://localhost:9090",
      ...
    }
  ]
Change the target to your own backend server address. By default, it is localhost:9090.
Editor Tool Recommandation
VSCode + ESlint(Plugin)
VSCode Configuration:
{
    "eslint.run": "onSave",
    "eslint.format.enable": true,
    "editor.formatOnSave": true,
    "editor.codeActionsOnSave": {
        "source.fixAll.eslint": true
    }
}
Check code style
npm run lint
You can also use script to auto fix some lint error:
npm run lint:fix
Test code
npm test